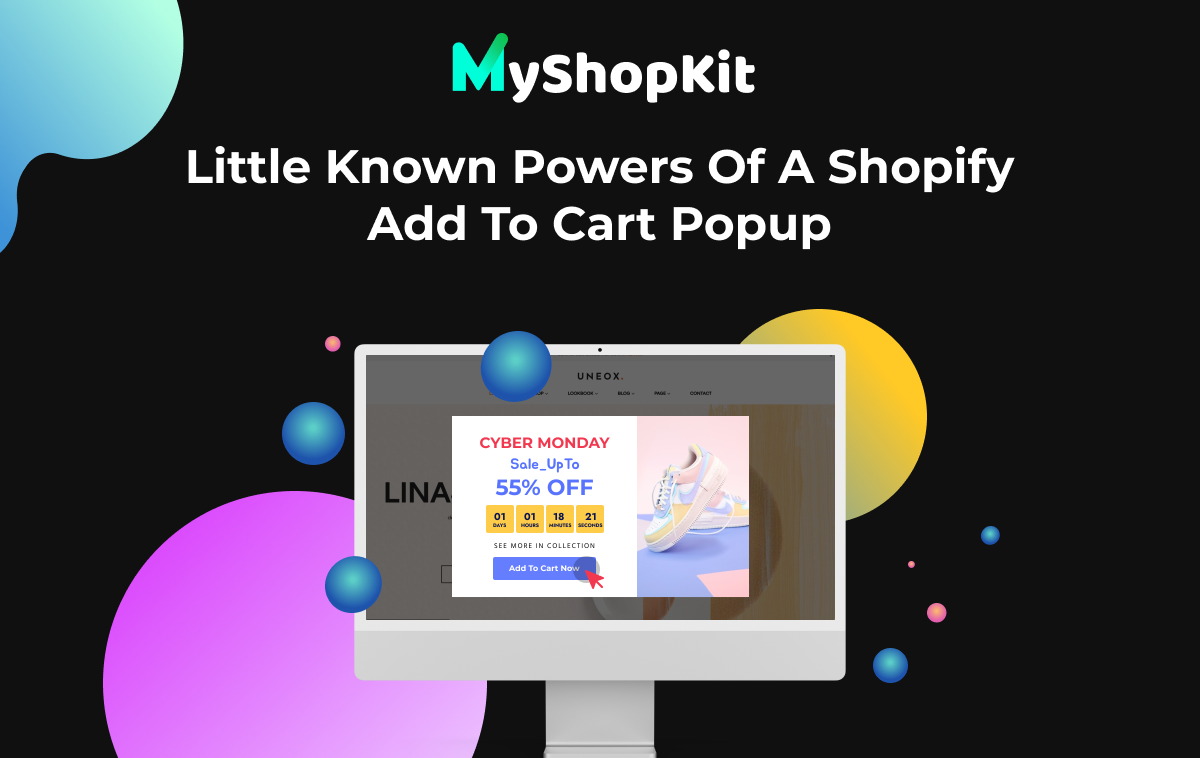
Exit intent popup is a typical sort of advertisement that you need to have on your website. This sort of promotion brings a lot of advantages to the sellers.
Popup provides you a second chance to attract customers by offering discount codes, free shipping, or your amazing items. Moreover, you may use popups to collect emails from potential clients who are interested in your products.

An exit intent popup is a wonderful tool for introducing another product or providing consumers with a coupon to encourage them to conclude their order process as quickly as possible.
It can boost your chances of converting potential clients into paying customers for your shop’s products. In other words, email pops help increase the number of email subscribers as well as reduce cart abandonment.
There are a variety of exit popup apps in Shopify stores. Among them, we strongly recommend the MyShopKit app. It is a useful software for rapidly and easily creating a Shopify exit-intent popup.
Without any prior design experience, you can design your own Shopify popup in only a few taps. Let’s find out right now.
Create An Exit Intent Popup With MyShopKit
To create popups quickly and easily with MyShopKit, follow these six steps.
Step 1: Create a new popup
In this step, you go to the popup area and click the “create new popup” button. Then, give your popup a name and begin the design process.
Step 2: Choose a goal for your popup
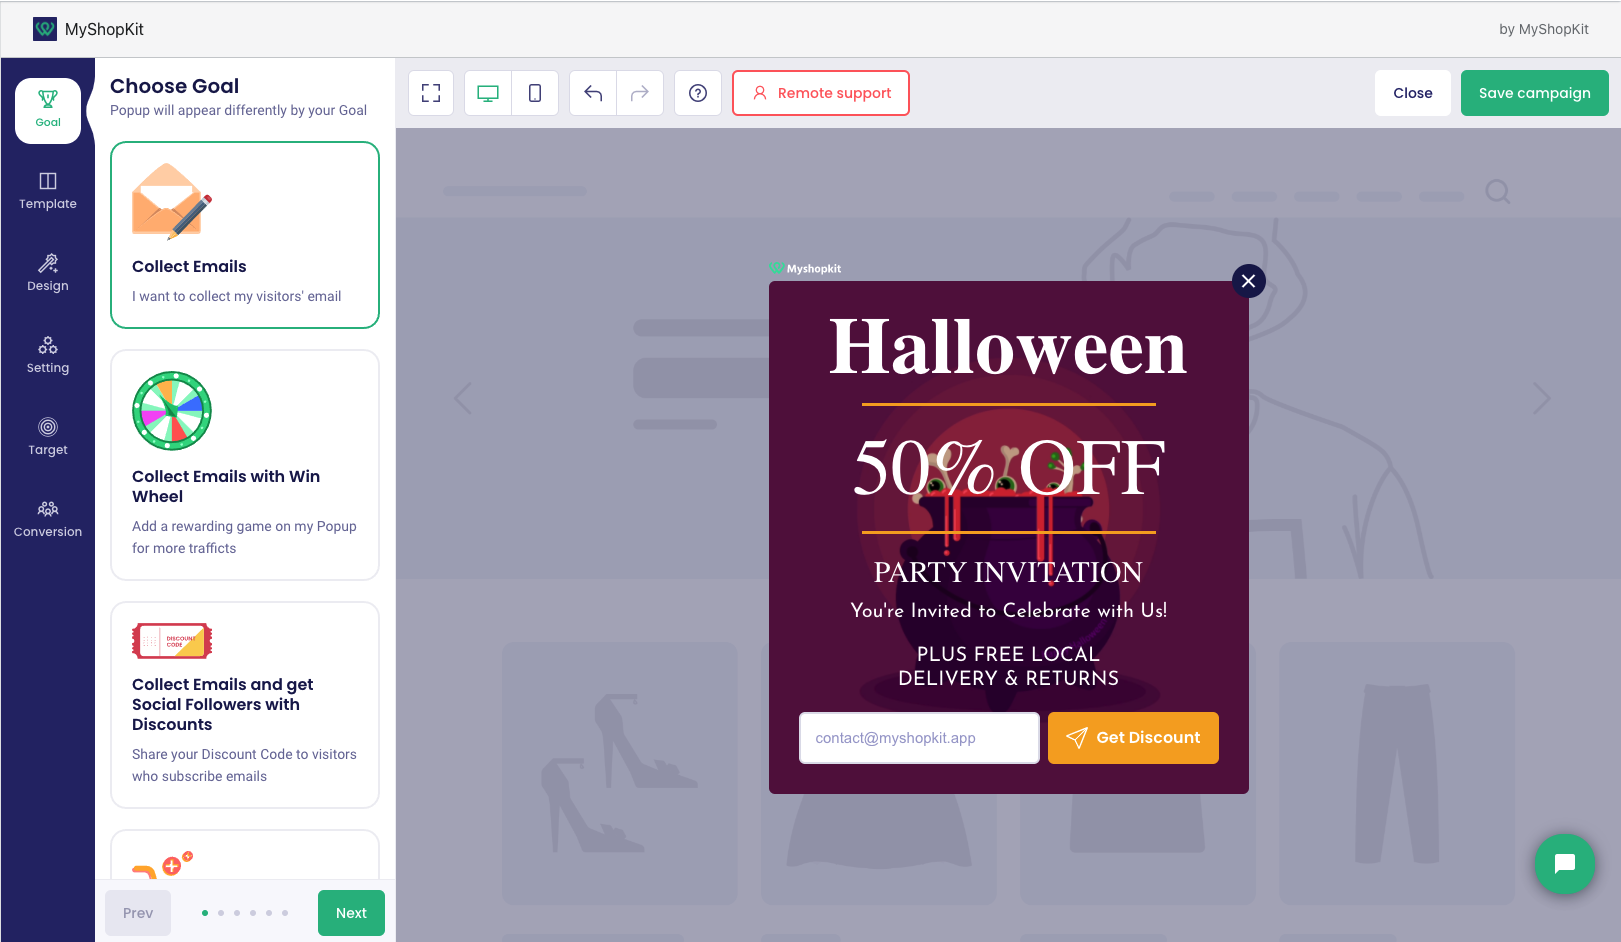
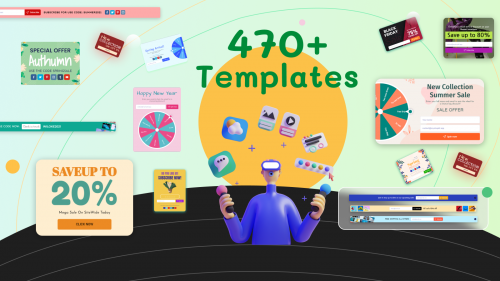
MyShopKit Popup app offers five goals that are appropriate for effective email marketing campaigns. Furthermore, each goal has a wide range of themes or Shopify exit intent popup examples with different colors and styles. You can quickly pick a theme that suits your requirements and tastes.
1. Collect emails: This goal is for you if you want to collect email addresses from visitors and develop a list of potential customers. It’s basically the most popular type of popup on the internet.
2. Collect emails with Win wheel: Customers can play the win wheel after entering their email address. This excites them because the game is risky, providing an additional incentive to purchase if the customer wins a voucher or free shipping.
3. Collect emails and get social followers with discounts: By offering a 10-20% discount, you can collect customer emails and increase the number of followers on your online sales pages. Kill two birds with one stone.
4. Target a URL: When visitors click the button on the popup, they will be led to a single product. This is an excellent opportunity to introduce them to your best-selling product.
5. Get social follows: This goal is appropriate for merchants that wish to increase online sales by using social media such as Facebook, Tiktok, Instagram, and others. Creating a sales page on social media is a popular trend these days.
We also have a plan for the sixth goal, “target a URL using an image,” which will be available soon.
After picking the right goal, please select the theme you wish to utilize and click next to start your work.
Step 3: Design area
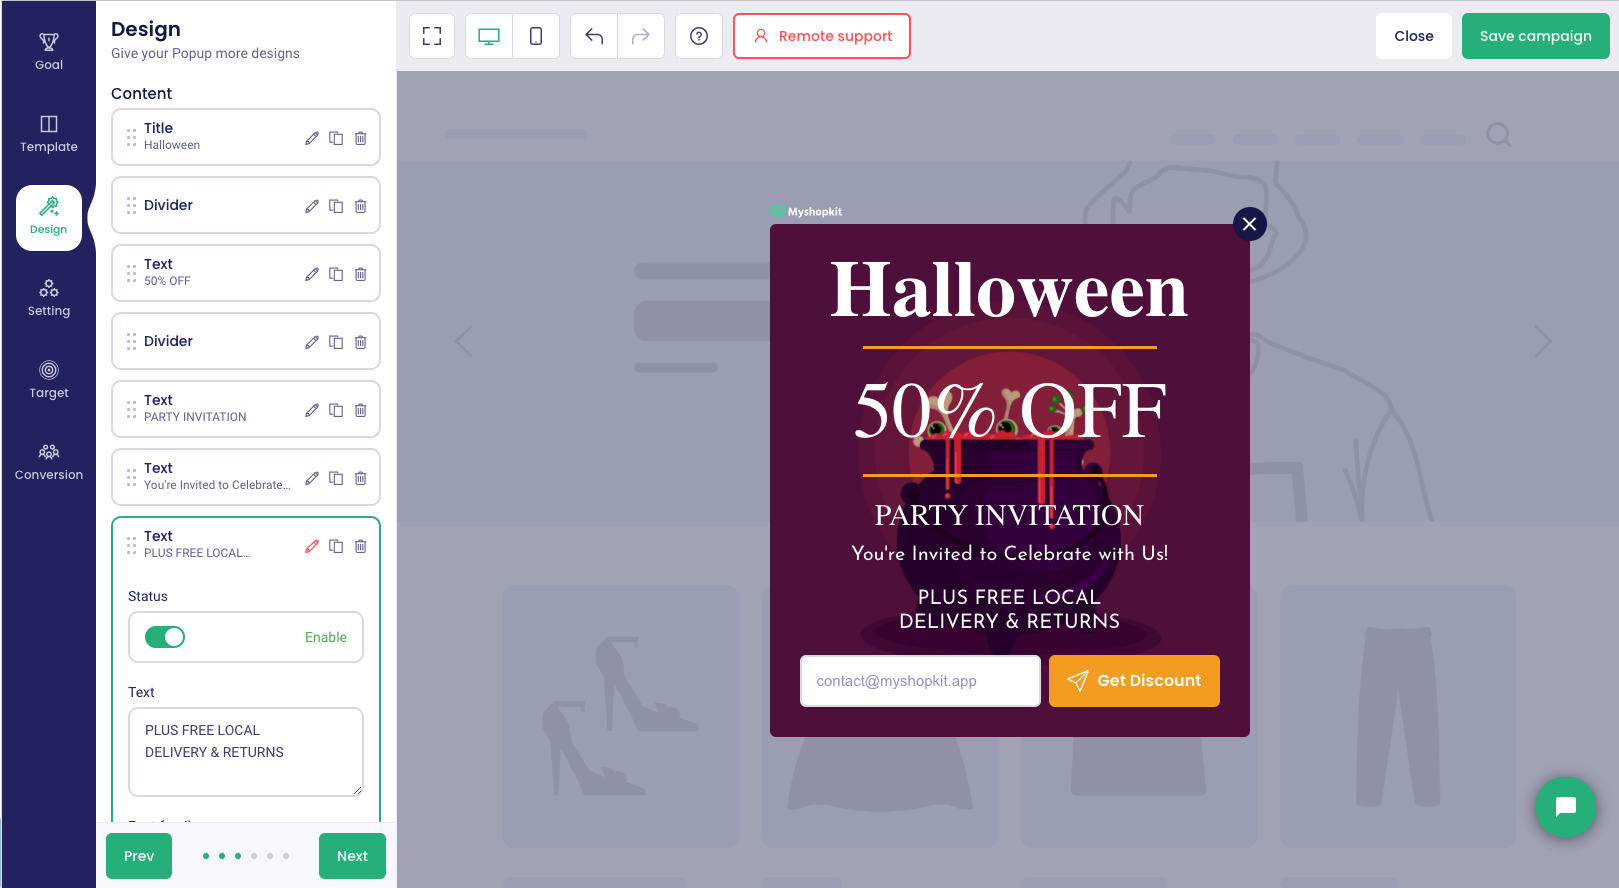
You can see all of your popup’s elements in the design area. If you wish to rearrange the elements, click and hold the dot icon you want to move, then drag it to where you want it.
By clicking the pencil symbol in the element you wish to design, you may edit everything in your popup, including the title, image, colors, etc. The best benefit in this area is you can see the change immediately at the right screen because the MyShopKit editor is a live preview.
You can add more content by clicking on the button “add element”, which allows you to add elements such as a photograph, a heading, social followers, and so on.
The design area is the most vital part of attracting customers. You need to use funny, useful text and catching-eye color for your popup. For example, you can say “We would love to see you again. Get 15% off your purchase next time at MyShopKit” to get their email address.
Moreover, “Can’t you stay a little longer. We miss you already. Join us and receive update discounts for subscribers….” can help you get more followers.
Step 4: Setting area
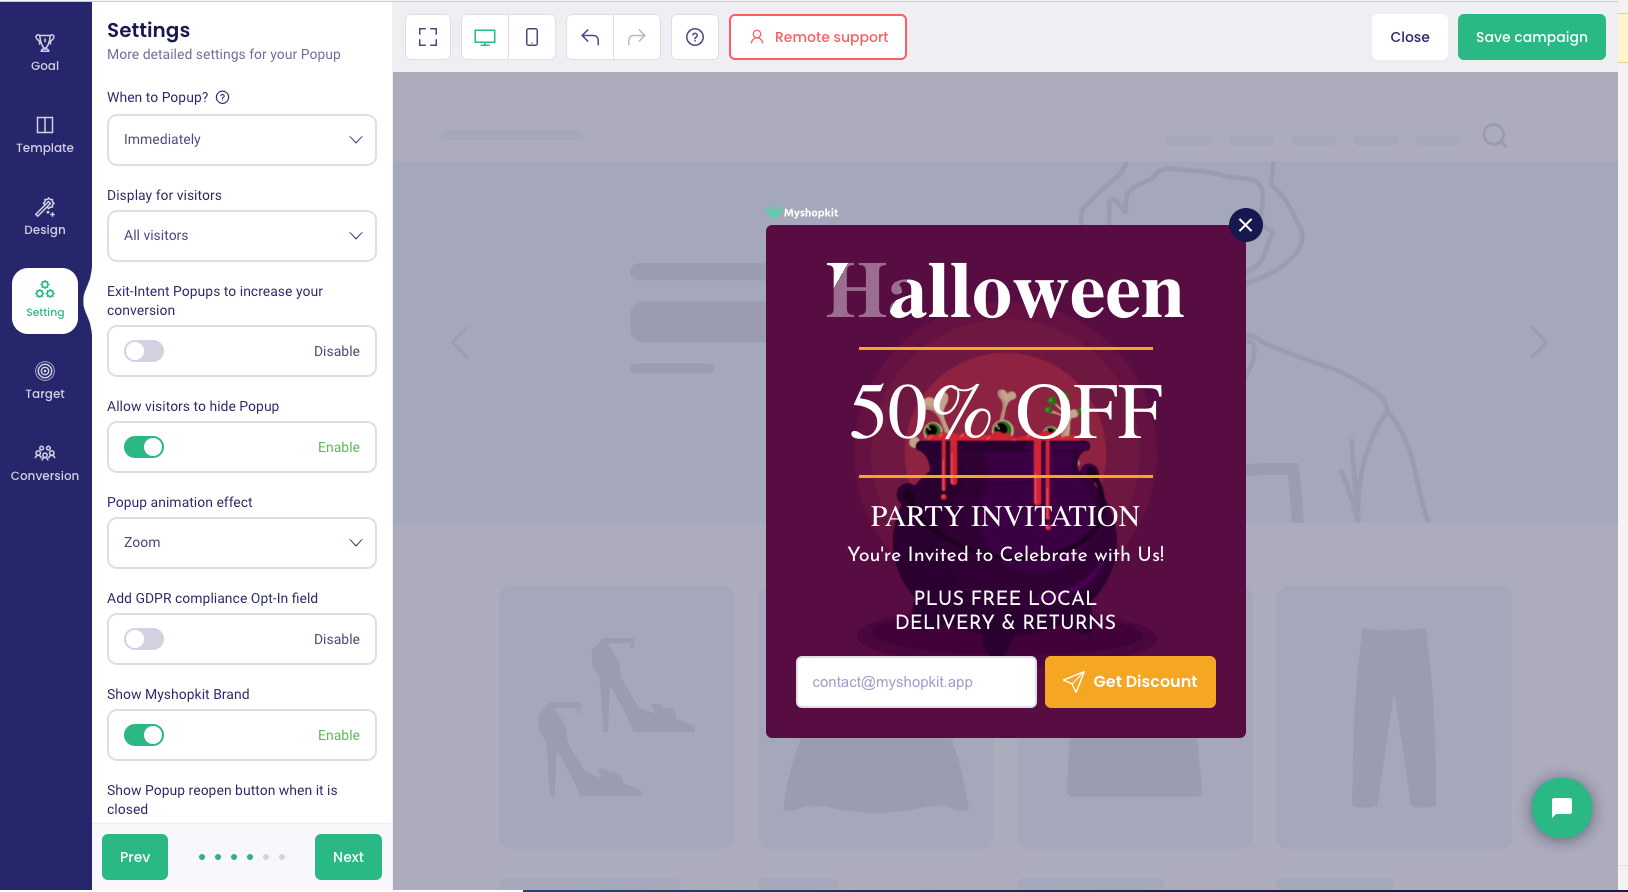
It is easy to set up your popup. Clicking the toggle “exit intent popup”, you will have your own exit intent popup.
Furthermore, you can choose whether your popup is shown to all or only to new visitors. In addition, the animation effect with several effects such as fade down, light up, zoom, and so on makes your popup appear in a beautiful style and attract customers’ eyes.
Step 5: Target setting
The target setting allows you to choose which pages in your shop will display this popup. This procedure enables you to stop displaying your popup to visitors after they have subscribed to your emails or closed the popup.
Step 6: Conversation
Conversation helps you send a “thank you” message to clients who have subscribed to your shop or provided email addresses. You can even redirect them to another link after that.
In addition, if you collect customer emails, click the “email service” option to save them. We have a variety of popular email services that you can access by logging in.
After you’ve completed all six steps, don’t forget to click “save and publish” in the top right corner. You should now see your popup in active mode. Also, you can check how the popup works by clicking on the online store icon.
MyShopKit exit intent popups: Sum Up
Exit intent popups are crucial advertising for any vendor in reaching out to and motivating customers to purchase items, thereby raising conversion rates. In the MyShopKit Popup app, you can quickly and easily create an exit-intent popup exactly like your needs and set preferences without any coding skills.
Besides, this program not only includes 5 goals and several themes from which to build your popup, but it also enables saving customer emails via popular third-party email services.
Don’t be hesitant to visit MyShopKit Popup right away to experience the software for creating exit intent popups and enticing more customers for your shop. I bet our app will not let you down.
